
A flat tire can disrupt your day and leave you feeling stranded. The good news? Many tire repair shops and roadside assistance programs offer a free flat repair service to help you get back on the road safely. Knowing what to expect during this process can make the experience less stressful and more manageable. In this guide, we’ll walk you through the steps of a free flat repair, so you’re prepared the next time you need assistance.
Initial Inspection of the Flat Tire
The first step in any free flat repair is the inspection process. When you arrive at the repair shop or receive roadside assistance, a technician will examine your tire to assess the damage. They will look for signs of:
- Punctures or holes caused by nails, screws, or other debris.
- Sidewall damage that could compromise the structural integrity of the tire.
- Worn-out treads that may indicate the need for a replacement instead of a repair.
- Leaks or tears that may not be immediately visible but can cause long-term issues.
The technician will determine if the tire is repairable or if it needs to be replaced entirely. A tire is considered repairable if the damage is within the tread area and doesn’t exceed a specific size (typically around 1/4 inch for passenger vehicles). If the sidewall is damaged or the puncture is too large, a replacement may be necessary.
Removal of the Tire from the Vehicle
Once the inspection confirms that the tire can be repaired, the next step is removing the damaged tire from your vehicle. This step ensures the repair is done correctly and safely. Here’s how it typically works:
- The technician will use a jack to lift the vehicle and secure it with jack stands to prevent accidents.
- Lug nuts are loosened and removed, allowing the technician to take the tire off the wheel hub.
- The tire is then placed on a workstation or machine designed for tire repairs.
This step is crucial because repairing a tire while it’s still mounted on the vehicle can lead to improper sealing and potential air leaks.
Repairing the Damage
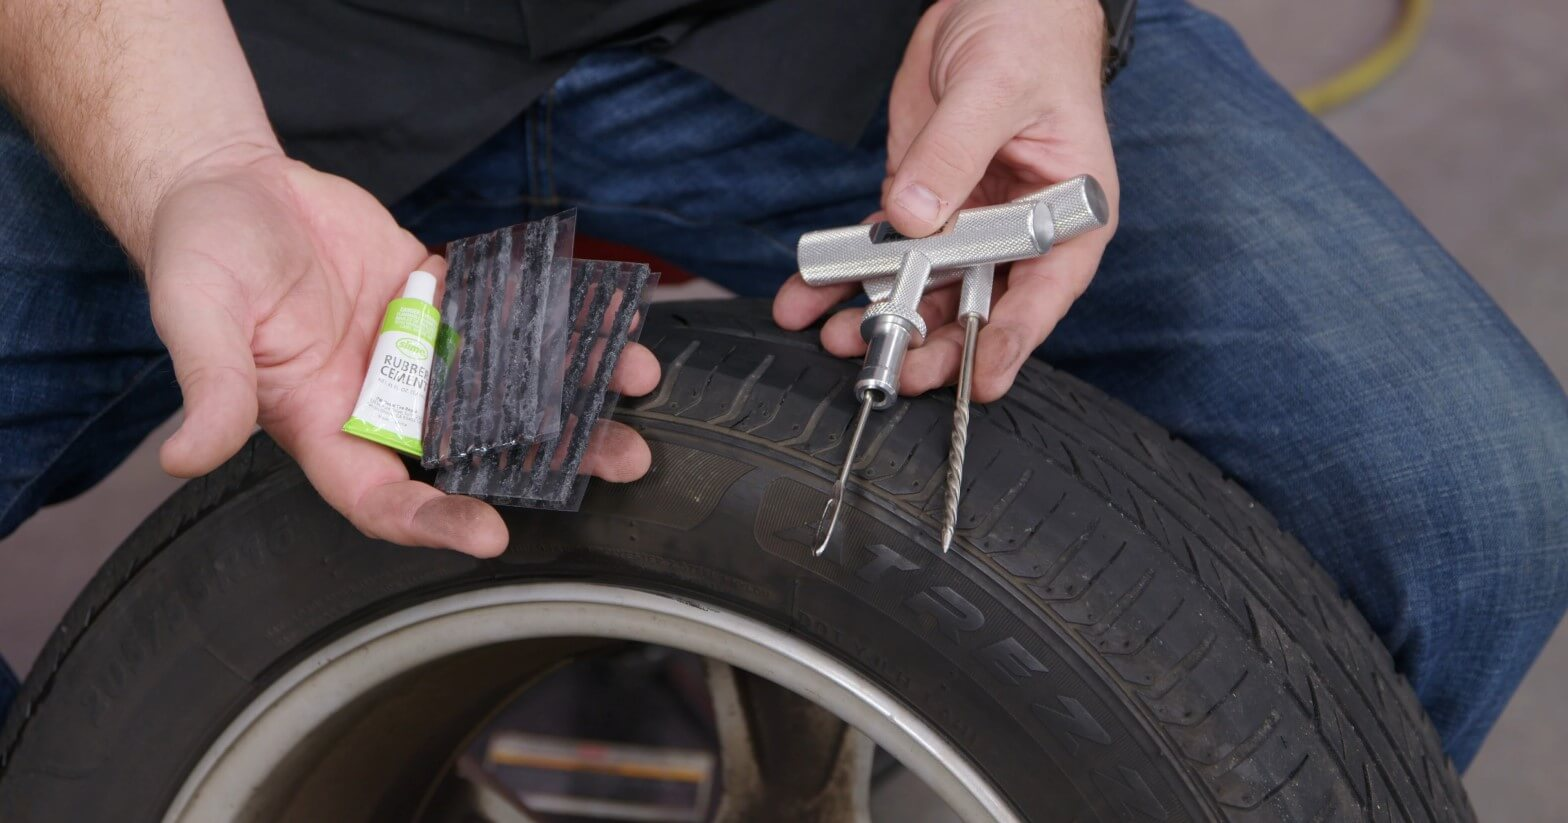
The actual repair process involves fixing the puncture or damage in the tire. There are two primary methods used during a free flat repair: patching and plugging. In some cases, a combination of both methods is used for added security.
- Plugging the Tire: A plug is inserted into the puncture hole to stop air from escaping. This method is quick and effective for small punctures in the tread area.
- Patching the Tire: A patch is applied to the inner lining of the tire to seal the puncture from the inside. This method is more durable and is often recommended for long-term use.
The technician will clean the area around the damage, apply adhesive if necessary, and ensure the plug or patch is securely in place. Once the repair is complete, they will inspect the tire again to ensure there are no other hidden issues.
Reinstallation and Testing
After the repair is completed, the tire is reinstalled on the vehicle. This step includes:
- Replacing the tire onto the wheel hub and tightening the lug nuts in a crisscross pattern to ensure even pressure.
- Lowering the vehicle back to the ground and securing the lug nuts to the manufacturer’s recommended torque specifications.
- Checking the tire pressure and inflating it to the correct PSI (pounds per square inch) as specified by your vehicle’s manual.
Once the tire is back on your vehicle, the technician may perform a leak test to ensure the repair was successful. This involves spraying soapy water around the repaired area and looking for bubbles, which would indicate air escaping.
Final Inspection and Recommendations
The last step in a free flat repair is a final inspection. The technician will double-check the repair work and ensure your tire is safe to use. They may also provide recommendations for maintaining your tires and preventing future flats, such as:
- Regularly checking tire pressure to avoid underinflation or overinflation.
- Rotating your tires every 5,000 to 7,500 miles to ensure even wear.
- Inspecting your tires for signs of damage or wear, such as bulges, cracks, or uneven tread.
- Avoiding driving over sharp objects or debris that can cause punctures.
If the technician notices that your other tires are in poor condition, they may suggest replacing them to ensure your safety on the road.
Conclusion
A free flat repair is a valuable service that can save you time and money when dealing with an unexpected tire issue. By understanding the step-by-step process, you can approach the situation with confidence and know what to expect. From the initial inspection to the final recommendations, every step ensures your tire is repaired correctly and safely.
Remember to follow the technician’s advice and maintain your tires regularly to avoid future problems. Whether you’re at a repair shop or receiving roadside assistance, being informed about the process will help you feel more in control during a stressful situation. Next time you experience a flat tire, you’ll know exactly how a free flat repair works and be ready to get back on the road quickly and safely.