
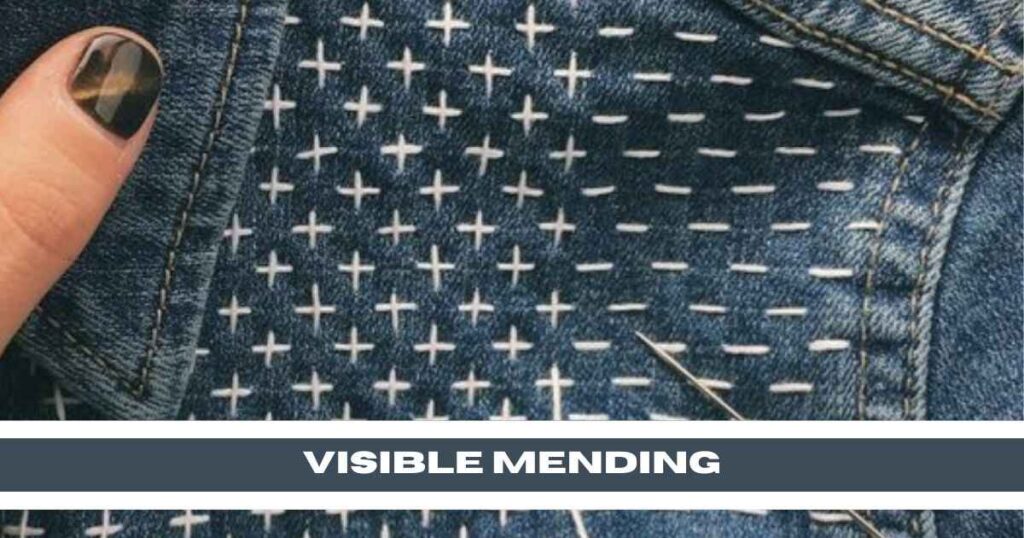
In today’s world of fast fashion and disposable clothing, the idea of repairing and reusing garments may seem like a thing of the past.
However, there’s a growing movement that’s embracing the art of visible mending – a creative approach to repairing clothes that celebrates the process rather than hiding imperfections.
1. Sashiko: Embracing Japanese Tradition
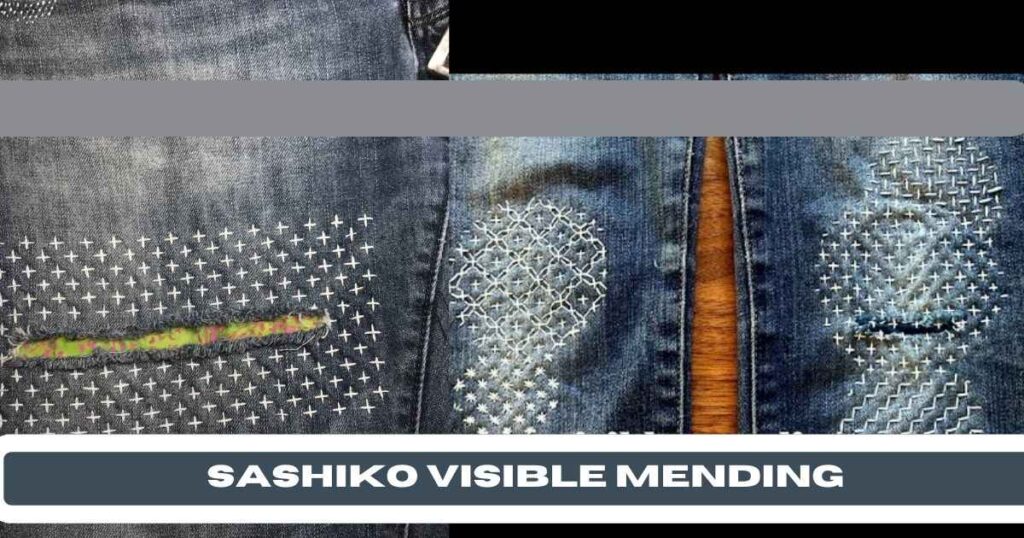
Sashiko is a traditional Japanese embroidery technique that has gained popularity in recent years for its simplicity and elegance.
The word sashiko translates to “little stabs” or “little pierce,” referring to the small, straight stitches used in the technique.
Try this Sashiko How-To
Sashiko is characterized by its use of simple running stitches to create intricate patterns. To try your hand at sashiko mending, all you need is a needle, thread, and some patience.
Here’s a basic how-to guide to get you started:
- Gather Your Materials: Choose a fabric in need of repair, along with a contrasting thread color for your stitches.
- Plan Your Design: Decide on a pattern or design for your sashiko stitches. Traditional motifs include geometric shapes, waves, and nature-inspired patterns.
- Thread Your Needle: Thread your needle with a length of thread and knot the end.
- Begin Stitching: Start stitching along the area in need of repair, using straight stitches to create your chosen pattern.
- Continue Stitching: Work your way across the fabric, filling in the damaged areas with your stitches.
- Secure Your Threads: Once you’ve completed your stitching, tie off your threads securely on the back of the fabric.
It can be hard to live sustainably in an unsustainable world, but embracing traditional techniques like sashiko can help us reduce waste and extend the life of our clothing.
2. Boro: Finding Beauty in Imperfection
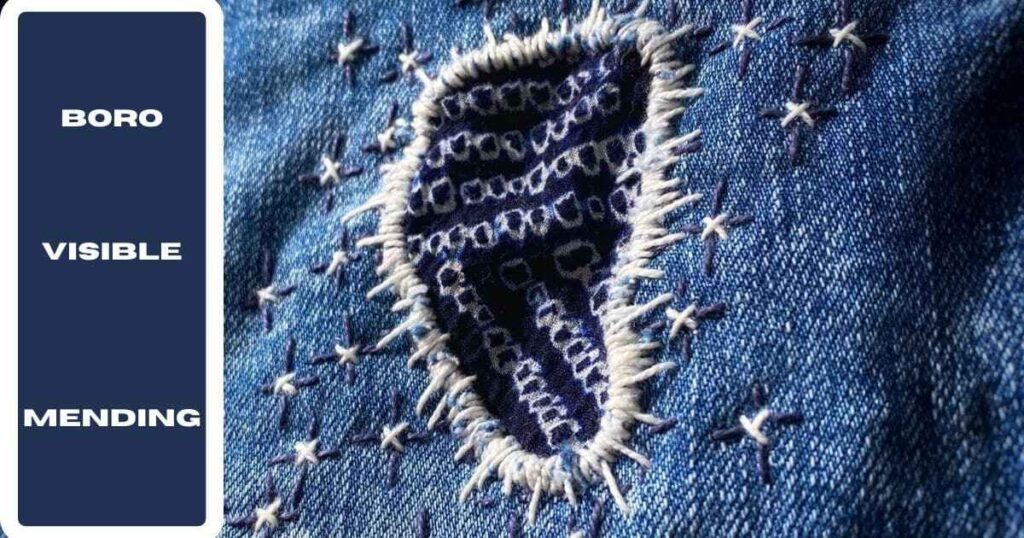
Boro is another Japanese textile art form that has captured the attention of modern-day menders.
Originating from the practice of patching and mending worn-out garments, boro celebrates the beauty of imperfection and the value of reusing and repairing materials.
Try this Boro How-To
Boro mending involves layering and stitching together pieces of fabric to create beautiful, patchwork designs.
Here’s a simple how-to guide to try your hand at boro mending:
- Gather Your Materials: Collect scraps of fabric in various colors and textures, as well as a needle and thread.
- Patch Your Fabric: Begin by patching together pieces of fabric to cover the damaged areas of your garment. Don’t worry about making it perfect – the beauty of boro lies in its imperfections.
- Stitch It Together: Use a simple running stitch to sew the patches in place, overlapping the edges to create a layered effect.
- Add Embellishments: Get creative with your stitching, adding decorative elements like embroidery or appliqué to enhance the design.
- Embrace the Imperfections: Remember that boro is all about embracing imperfection, so don’t be afraid to let your stitches show.
Boro mending is not only a practical way to repair clothing but also a beautiful expression of creativity and craftsmanship.
Recommended Blog: How To Style An Oversized T-Shirt Like A Celeb
3. Embroidery: Adding a Personal Touch
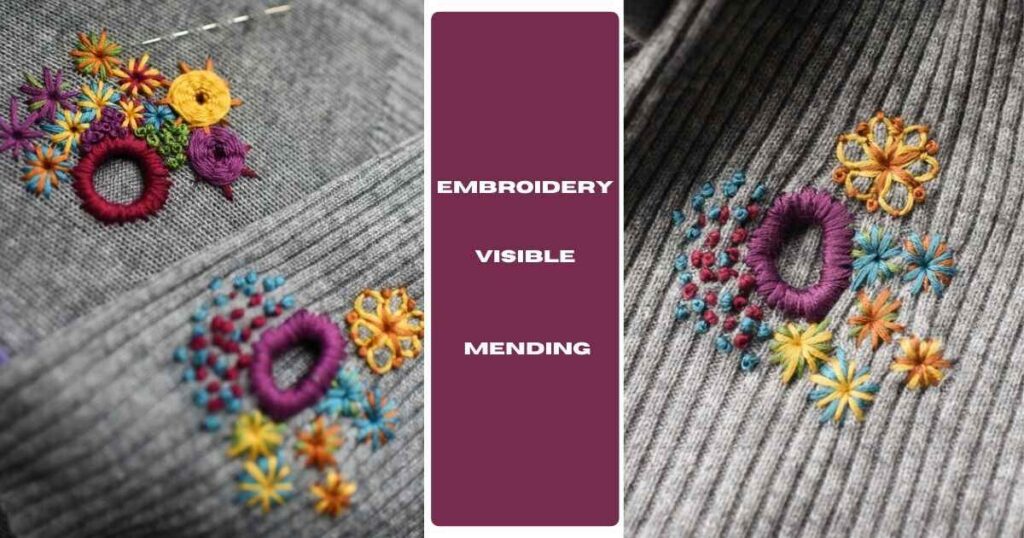
Embroidery has long been used to add decorative accents to clothing, and it’s also a popular choice for visible mending.
By using colorful threads and various stitching techniques, you can transform holes and tears into works of art.
Try this Embroidery How-To
To give your clothes a personal touch with embroidery, follow these simple steps:
- Assess the Damage: Identify the areas of your garment that need repair and choose a design that will cover the damage.
- Select Your Threads: Choose embroidery floss in colors that complement your garment and your chosen design.
- Plan Your Design: Sketch out your embroidery design on the fabric using a fabric pencil or chalk.
- Start Stitching: Begin stitching your design, using techniques like satin stitch, running stitch, or cross-stitch to fill in the design.
- Add Details: Get creative with your stitches, adding embellishments like French knots or seed stitches to add texture and depth to your design.
- Secure Your Threads: Once you’ve completed your embroidery, tie off your threads securely on the back of the fabric.
Embroidery is a versatile and customizable way to repair and personalize your clothing, adding a unique touch to every piece.
4. Patches or Appliqué: Adding Flair with Fabric
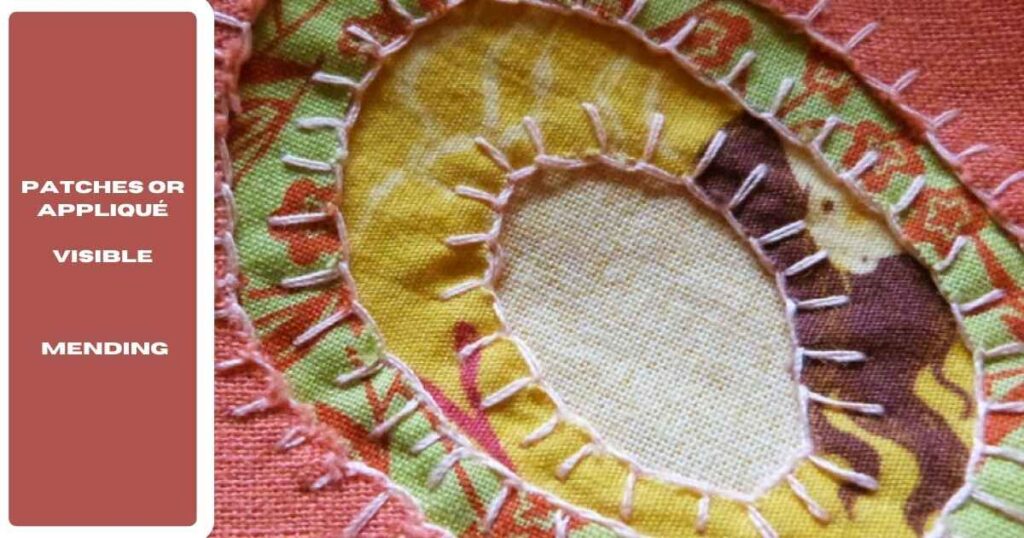
Patches or appliqué offer a quick and easy way to cover up holes or tears in your clothing while adding a pop of color or texture.
Try this Patching How-To
To create patches or appliqué for your garments, follow these steps:
- Choose Your Fabric: Select a piece of fabric that complements your garment and the area you’re repairing.
- Cut Out Your Shape: Using scissors or a fabric cutter, cut out a shape from your fabric that is slightly larger than the damaged area.
- Position Your Patch: Place the patch over the damaged area, making sure it covers the hole or tear completely.
- Secure the Patch: Use fabric glue or an iron-on adhesive to attach the patch to your garment, following the manufacturer’s instructions.
- Add Embellishments: Get creative with your patches by adding decorative elements like embroidery, sequins, or beads.
- Finish the Edges: If desired, finish the edges of your patch with a satin stitch or zigzag stitch to prevent fraying.
Patches or appliqué are a fun and versatile way to add personality to your clothing while covering up imperfections.
5. Reverse Appliqué: Unveiling Hidden Designs

Reverse appliqué is a unique technique that involves layering fabrics and cutting away the top layer to reveal a design or contrasting color beneath.
Try this Reverse Appliqué How-To
To try reverse appliqué on your own clothing, follow these steps:
- Choose Your Fabrics: Select two or more fabrics in contrasting colors or patterns.
- Layer Your Fabrics: Stack the fabrics on top of each other, with the fabric you want to reveal on the bottom.
- Draw Your Design: Sketch out your design on the top layer of fabric using a fabric pencil or chalk.
- Cut Away the Top Layer: Carefully cut away the top layer of fabric along your design lines, revealing the fabric underneath.
- Secure the Layers: Use a simple running stitch or a decorative stitch to secure the layers together around the edges of your design.
- Add Embellishments: Enhance your design with additional stitching, embroidery, or other embellishments as desired.
Reverse appliqué adds an element of surprise to your mending projects, allowing you to create one-of-a-kind designs that truly stand out.
6. Visible Darning: Reinforcing with Style
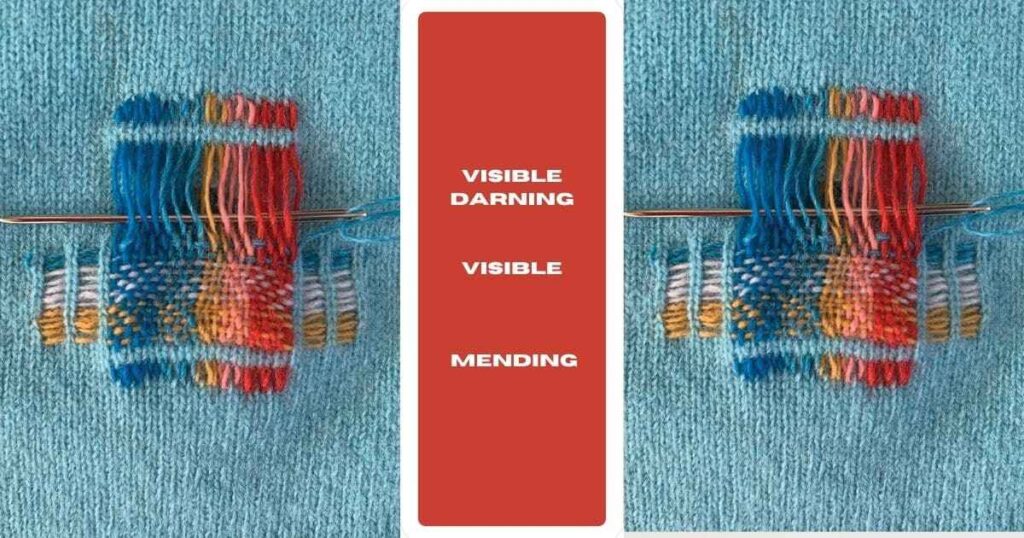
Darning is a classic technique for repairing holes or worn areas in clothing, and visible darning takes it to the next level by incorporating decorative stitching.
Try this Darning How-To
To try visible darning on your own garments, follow these steps:
- Assess the Damage: Identify the areas of your garment that need repair and choose a darning technique that complements the fabric.
- Select Your Thread: Choose a thread color that matches your garment or opt for a contrasting color for added visual interest.
- Prepare Your Needle: Thread your needle with a length of thread and knot the end.
- Start Darning: Begin stitching over the damaged area using a darning stitch or other decorative stitch pattern.
- Build Up Layers: Continue stitching until the damaged area is reinforced and the hole is covered completely.
- Add Embellishments: Get creative with your stitching, adding additional decorative elements like embroidery or appliqué to enhance the design.
Visible darning not only repairs your clothing but also adds a touch of style and personality to your wardrobe.
Recommended Blog: HOW To WEAR PLEATED SKIRTS WITH SNEAKERS? 7 STYLES TO TRY ON!
Conclusion
In conclusion, visible mending offers a creative and sustainable solution to repairing and revitalizing our wardrobes.
By embracing techniques like sashiko, boro, embroidery, patches or appliqué, reverse appliqué, and visible darning, we can turn everyday repairs into opportunities for self-expression and creativity.
Not only does visible mending allow us to extend the life of our clothing, but it also promotes a deeper connection to the items we wear and the resources used to create them.
Instead of viewing imperfections as flaws to be hidden, visible mending encourages us to celebrate the unique history and character of each garment.
As we navigate a world of fast fashion and disposable clothing, visible mending serves as a reminder of the value of craftsmanship, creativity, and sustainability.
So why not join the movement and give visible mending a try? With a little creativity and imagination, you can transform your wardrobe and make a positive impact on the planet.